Thursday 10 September 2009

Design a God of War III Inspired Cracked Text Effect in Photoshop

In this tutorial, I will show the processes involved in designing a God of War III Inspired Cracked Text Effect in Photoshop. I personally have been a fan of the God of War Series for a long time and got the inspiration for this tutorial from the game title text effect, and thought I could make a tut for it :)

Along the way, I would like to show you the use of custom brushsets in Photoshop and how to use them to create eye-catching effect for your design work. There are also techinques such as layer blending mode, masking and image adjustments. Have a go!

Here is a preview of the final text effect for this tutorial:

god-of-war-text-effect-final

Alternative version:

god-of-war-text-effect-flatten-1

Let’s get started!

To complete this tutorial, you will need to the following stocks:

Grunge Brushset

Font

Crack Brushset

Step 1

Create a new document sized 1200px * 800px, fill the background layer with Black colour. Create a new layer called “background texture” on top of the background layer, and we’re going to do some painting with the Grunge Brushset we have just downloaded.

Firstly we want to load the brushset into Photoshop. To do this, press the “B” key to select the Brush Tool, and following the steps as shown in the following screenshot:

1. Click the down arrow next to the Brush shape/size

2. Click the right arrow on the top right corner of the brush palette

3. Click the “Load Brushes” option on the menu

1-load-brush

After this, you will see a window pop-up and simply select the Grunge Brush set you just downloaded/extracted, and you will see those brushes appear in the palette as shown below:

2-after-load

(The yellow highlighted part indicates the brushset we have just loaded)

So now we have a set of grunge textures we can use to create our background texture. On the “background texture” layer, use those brushsets we just loaded and paint some irregular, grungy patterns on it:

(Hint: don’t just stick with one brush, try out a combination of them and adjust the flow and opacity for each different brushset, experiment and see what result that bring you)

Here is what I have after a bit of painting with the grunge brushset:

1-after-paint

Step 2

Now we have a grungy style background texture. Let’s type some text onto it by using the font we downloaded at the start of this tutorial:

2-type

On this text layer, apply the following layer blending options:

Drop Shadow

2-drop-sha

Inner Shadow

2-inner-sha

Bevel and Emboss

2-bevel

Gradient Overlay (Hint: you can adjust the position of the gradient by left-click and drag on the text)

2-grad-overlay

And you will have the following effect:

2-effect-1

Duplicate this text layer once and make the text look bolder and thicker:

2-effect1

Step 3

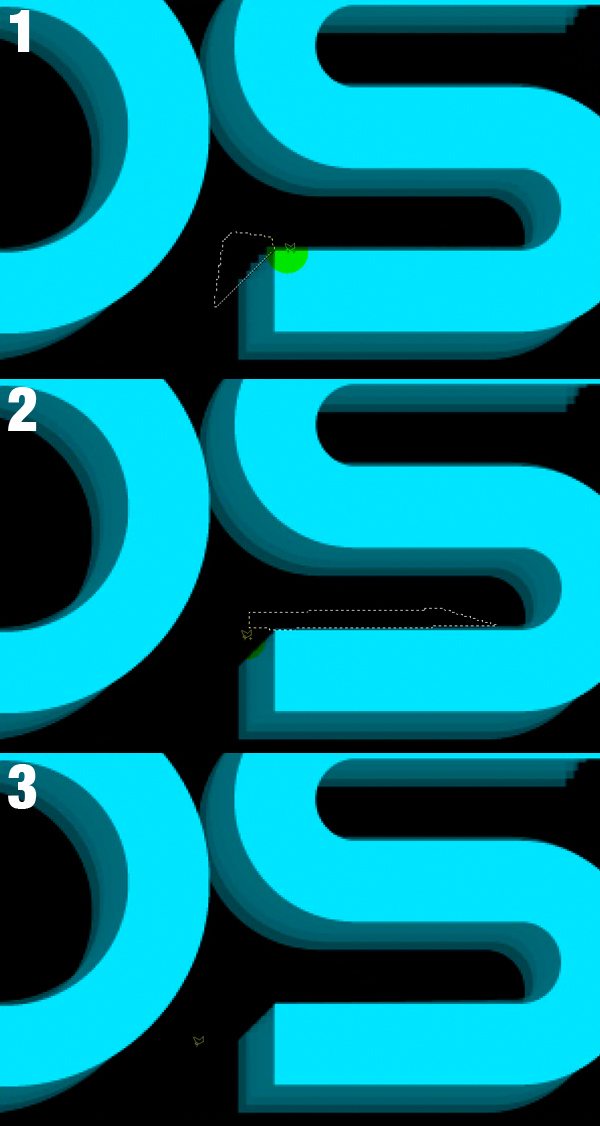
Load the selection of the text layer (if you’re not sure how to do so, please take a look at Step 3 of my previous post) and create a new layer called “crack texture”. While maintaining the selection, load the “Crack brushset” into Photoshop and on the “crack texture” layer, use this brushset to paint over it.

You will see because we keep the selection active, the crack texture appears only within the selection:

3-paint

Duplicate the “crack texture” layer once and change the blending mode of the duplcated layer to “Multiply”, you will have the following effect (the crack texture darkened) :

3-duplicate

To create some more variation to the crack, we can add some more layers and on each added layer, apply a different crack texture from the brushset, and set the layer blending mode to “overlay”.

You can add as many layer as you wish, here is what I have after adding two more layers of crack texture:

3-effect

Step 4

Now we can some colour on the text. To do this, load the selection of the text layer again, create a new layer on top of all other layers called “colour overlay”.

Here is the tricky bit: What I would like to achieve is some colour variation, so I use the Lasso Tool with a 10px feather, substract the upper portion of the selection off by holding down the Alt Key while making the selection:

4-lasso

While maintaining the selection, pick a colour and a soft round brush, and paint inside the selection:

4-colour

Load the text layer again, create a new layer above the previous colour overlay layer, this time choose a lighter colour and soft brush, paint it on the upper portion of the text:

4-effect

Step 5

Now we can add some adjustment layers to bring out some colour contrast and lightness for the overall effect. I added the following two adjustment layers (Layer > New Adjustment Layer > …)

Levels

5-level

Curves

5-curves

And here is the final effect for this text effect: (Click to enlarge)

god-of-war-text-effect-final

Ok that’s it for this tutorial! You can of course add some of your own texture or filter effect and see what the end results are! Remember to always keep your own creativity!

Here is an alternative version I have: (click to enlarge)

god-of-war-text-effect-flatten-1

Hope you enjoy this tutorial, drop me a comment if you have any question, I will try my best to help you out.

Cheers and have a nice day!

source from : PSD Vault

Continue Reading...

Swift Blue Text Tutorial

In this tutorial I will demonstrate how to make a glowing text effect that is easy to create, learning useful techniques along the way. (.PSD Included).

Final Image (Click to enlarge)

Web Media Magazine

This tutorial requires the following resources:

Step 1

We will be working on a canvas with the dimensions 500×500px. Lets start by downloading this preset canvas.

Open it in PS

Step 2

Open the canvas and create a new layer. On this layer select the text tool and set the color to a nice cool blue, I used #65afce I used the font AvantGarde LT Book with bold enabled. The color I chose may seem dull, but it will improve.

The first thing to do is to set the blending options (right-click on the layer > blending options). Follow these screenshots;

Outer Glow

Outer Glow

Gradient Overlay

Gradient Overlay

Step 3

The image should currently look like this:

r

Next create a new layer, right click on the layer and select Create Clipping Mask (Make sure the new layer is above the text layer). Set the color to white and grab the rectangle tool, draw a rectangle around the top half of the text like so:

Clipping Masks are wonderful

Clipping Masks are wonderful

Set the layer to opacity 20%.

Step 4

Note: Make sure you have installed the brush provided in the resources, if you do not know how to install the brush follow this tutorial.

Create a new layer underneath the text layer, set the color to white and the brush size to 15 pixels. Around the right handside of the image draw some bubbles going to the top of the image. The image should now look like this:

step4_current

Step 5

Onto the reflection, duplicate the text layer and flip it vertically using the Free Transform Tool. Move the layer down until there is about a 1 pixel space between both layers. (Note: I made my text all capital so the “G” would not be drooping and ruining the relfection effect.)

Remove all the blending options on the reflection layer, select the layer and click the masking icon in the layers window.

i

Select the rubber tool with 0% hardness and size 200px, hold shift (keeps brush straight) and slowly remove the bottom part of the reflection layer. Make sure it’s very softly to get the reflection effect.

Web Media Magazine

You should be done now! Any questions just post a comment.

source from : webmediamagazine

Continue Reading...

How to Create a Gorgeous Glassy Text Effect

Final Image Preview

Take a look at the image we'll be creating. Want access to the full PSD files and downloadable copies of every tutorial, including this one? Join Psd Plus for just $9/month. You can view the final image preview below or view a larger version here.

Step 1

First of all open up a new document and fill it in with black. Then add your text using a font you like and the color #00e5ff.

Step 2

Next duplicate the layer by pressing (Command + J), set the layer Opacity to 65% and move it down and left 1 px each.

Step 3

Next duplicate the text layer in Step 2 four more times. Then move each 1 px down and left as you did before.

Step 4

Next you need to select all the layers except for the background and the first text you created. Now right-click and chose Rasterize Type, then Merge the layers and set the new layer to 47% Opacity.

Step 5

Use the Polygonal Lasso Tool (L) and make a selection, as shown below. Next, use the Smudge Tool (R) set to a Master Diameter of 19 px, Hardness of 100%, Strength of 30%, and smudge the right part of the layer so you can cover up that empty part.

Step 6

Repeat the same process with the other letters.

Step 7

For the lower part of the "S" letter, make a selection as shown, but this time simply erase the unwanted part of the letter by pressing Backspace.

Step 8

Erase the upper part of the letters: "d," "t," "u," and "t," then erase the lower part of the "s."

Step 9

Next use the Smudge Tool (R) as you did in Step 5. Use the Smudge Tool for the letters "t," "t" and "s."

Step 10

Next move the original text layer above the duplicate. Also, set the Opacity of the duplicated layer to 35%. Select the original text layer and double-click on it to enter the Blending Options and then add a stroke.

Step 11

Next select the text layer below and duplicate it. Use the Pen Tool (P) and create a stroke like below and transform it into a selection. Now simply erase over the selection using the Eraser Tool (E) set to 24% Opacity.

Step 12

Next create a new layer above the duplicated text layers. In this layer add some color to the text. To do this you first need to make a selection of the entire text by holding down the Command key and pressing once on the duplicated text layer thumbnail. Now fill the selection with #ff009c. Don't mind the blue clouds behind the text.

Step 13

Set the layer to Hue and Opacity to 35%.

Step 14

Make a selection of the first text layer and then go into each of the below layers and press backspace to clear the selected areas. As you can see below, the text effect will still be visible, but we need to erase some areas for future adjustments.

Step 15

Create a new layer below the "pink" layer and make a selection as shown below, then fill the selection with white. Also, set the layer to 38% Opacity and the original "text" layer to 68% Opacity.

Step 16

Make a selection of the original "text" layer. Now use a soft brush for the Eraser Tool (E) to clear the corners of the white layer that don't look good.

Step 17

Make another selection of the original text layer and create a new layer above it. Then select the Lasso Tool (L) and right-click on the screen and choose stroke. Set the stroke to 2 px and color to #00fcff.

Step 18

Duplicate the stroke from Step 17 and move it like below. Now make a selection as shown, and use the Eraser Tool (E) set to 40% Opacity to erase the stroke that is inside the selection. In the end, set the layer to 10% Opacity.

Step 19

Make another selection on the original text and then subtract like below. Create a new layer above the original "text" layer, and apply the same color as you used for the stroke add a simple gradient. Then add another stroke using #c2feff.

Step 20

Duplicate the "white text" layer and brush over it with the color #f1ff12. Then set the layer Opacity to 23% and move it as shown.

Step 21

Make a selection like below by Command-clicking on the original text thumbnail and inverse the selection. Then using the Eraser Tool (E) you need to erase the edges like in Step 16.

Step 22

Now it is time to get back to the "pink" layer. Activate it and set the Opacity back to 100%. Make a selection like below, invert it and erase the excess using the Eraser Tool (E).

Step 23

Move the "pink" layer you just created above the original text layer and set it to Overlay.

Conclusion

You are finished with the text effect but to make this a bit more interesting I will create another element and that is the plus using the same techniques. Also, add the final element, which is an interesting background that I purchased from Graphic River. You can view the final image below or view a larger version here.


source from : psd tuts+
Continue Reading...
 

Blogroll

Site Info

Text

Tut - Designer Copyright © 2009 WoodMag is Designed by Ipietoon for Free Blogger Template