Tutorial Details
- Program: Adobe Illustrator
- Version: CS4
- Difficulty: Intermediate
- Estimated Completion Time: 1.5 hours
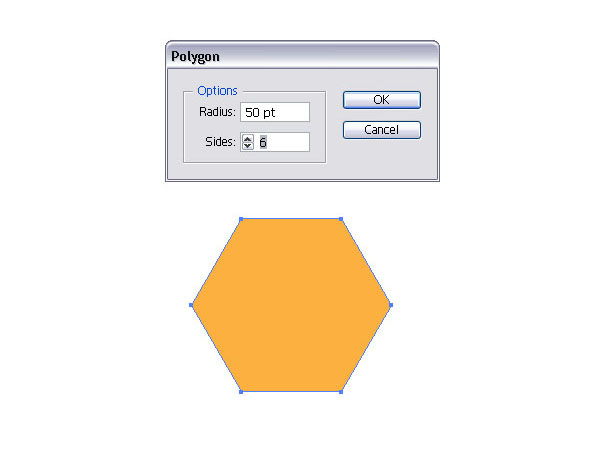
Step 1
Open up a new document and select the Polygon Tool. Click once on the artboard and choose Radius 50pt and Sides: 6 in the pop up window. Fill the polygon with an orange color.
Step 2
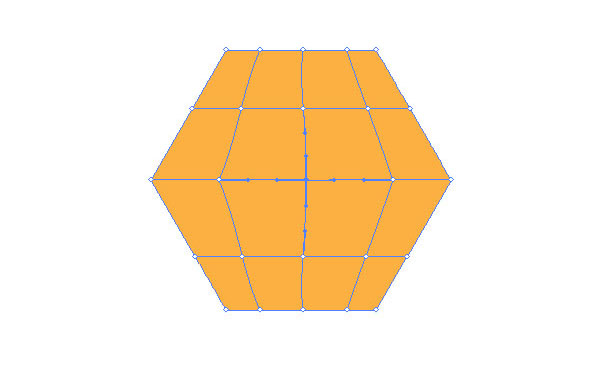
Select the Mesh Tool (U) and start adding mesh points. Click once on the top line of the polygon.
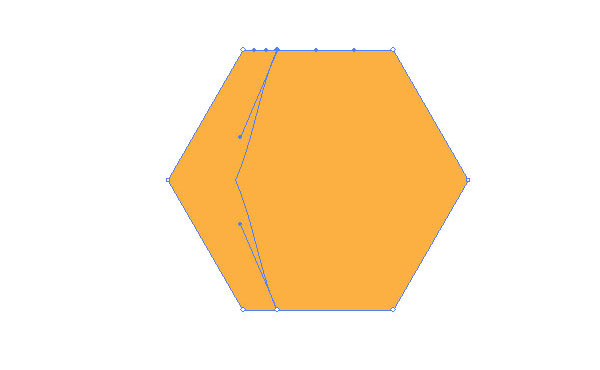
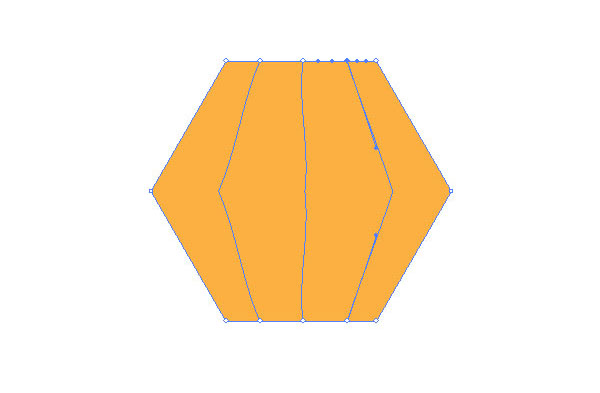
Step 3
Then repeat the step by clicking in the middle and on the right of the top horizontal line of the polygon as shown.
Step 4
Then click once right into the middle of the polygon with the Mesh Tool (U).
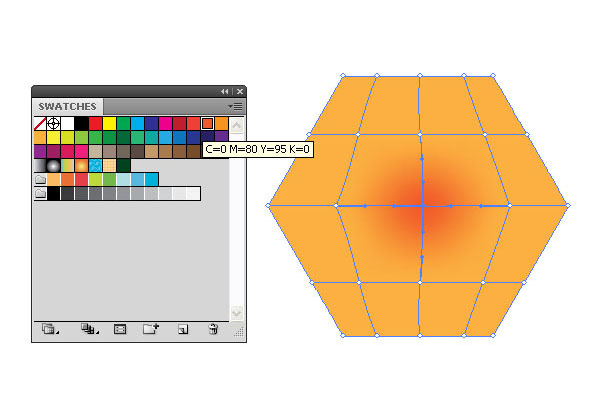
Step 5
Select the Direct selection Tool (A) and highlight the center mesh point, then fill it with a darker orange.
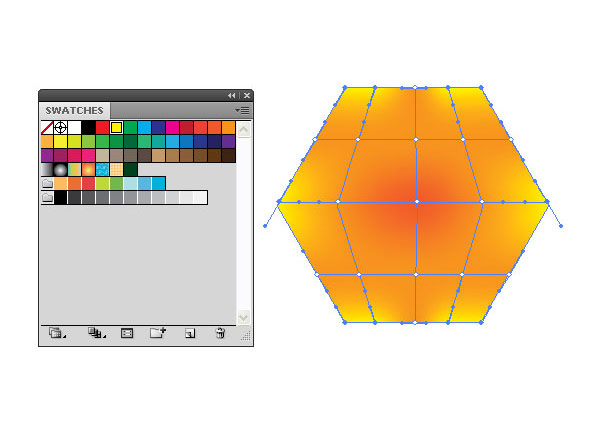
Step 6
Next, select each corner mesh point and fill it with a yellow.
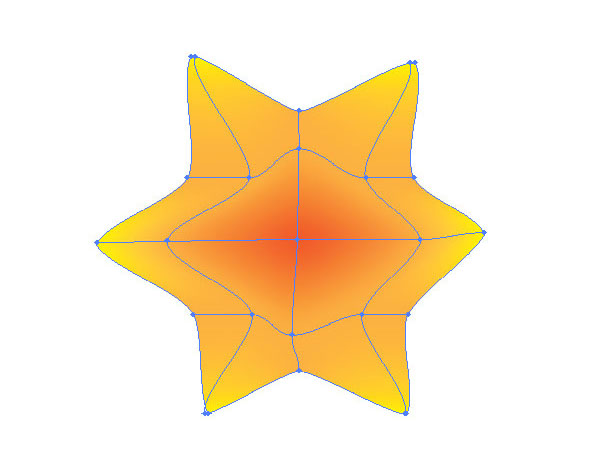
Step 7
Start dragging each middle mesh point of each side of the polygon towards the middle until you create a similar star shape, just like you see in the image below.
Step 8
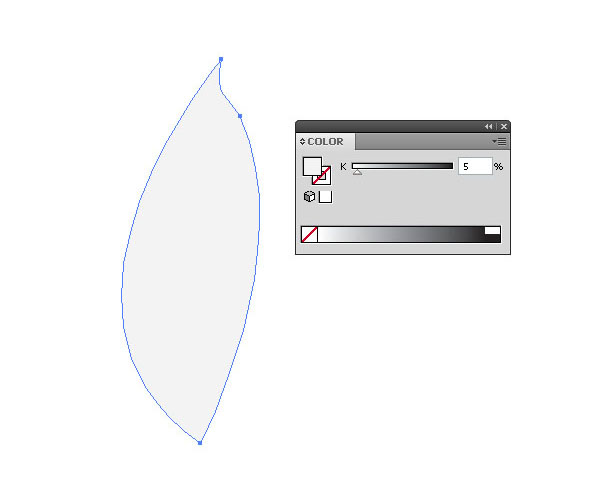
Let's move onto the flower pedal creation. Select the Pen Tool (P) and draw a similar shape as shown in the image below. Fill it with 5% Black.
Step 9
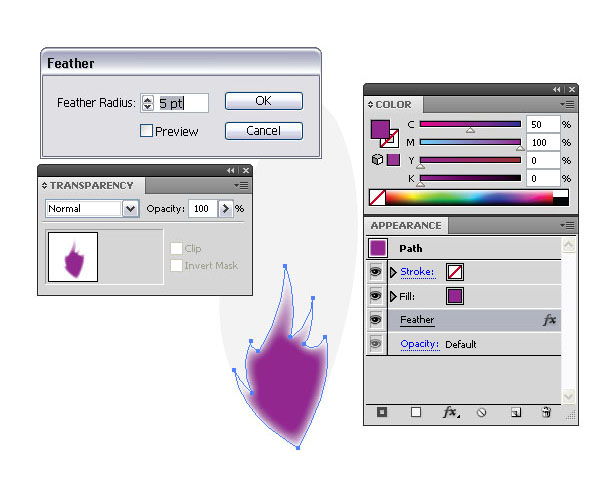
Create another shape similar to the one shown below, which will be the bottom part of the flower pedal. Fill it with a pink or any other color of your choice. Then go to Effect > Stylize > Feather, then set the Feather amount to 5pt. Place it on top of the gray pedal.
Step 10
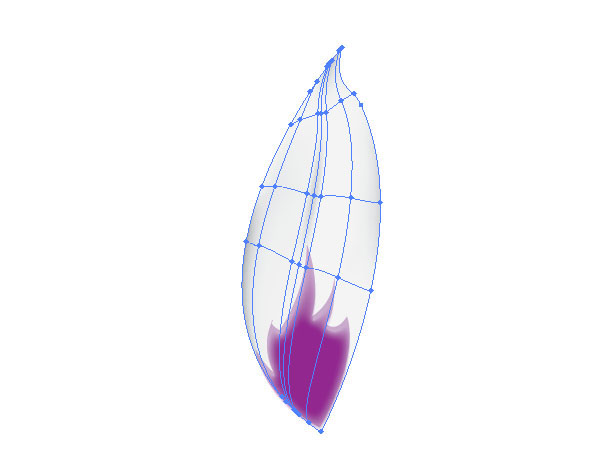
Apply mesh points to the pedal with the Mesh Tool (U). Select random mesh points and fill them with a darker gray.
Step 11
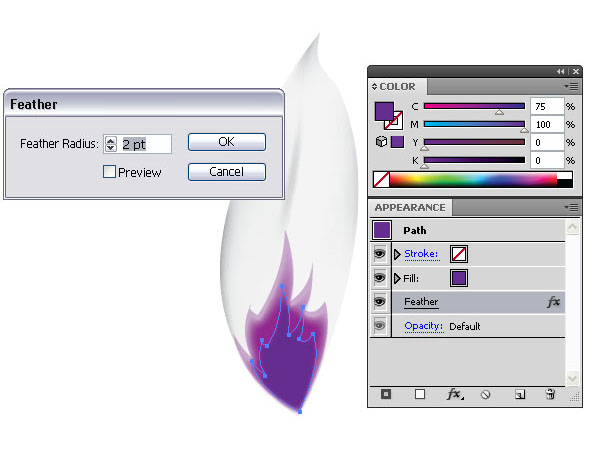
Select the smaller pink shape and make a copy. Then scale it down to about 75% of the original one. Fill it with a darker pink or a purple. Apply a Feather effect of 2pt.
Step 12
Group the flower pedal and the two small shapes together. Then select the grouped shape and Rotate (R) and duplicate it until you have six pedals.
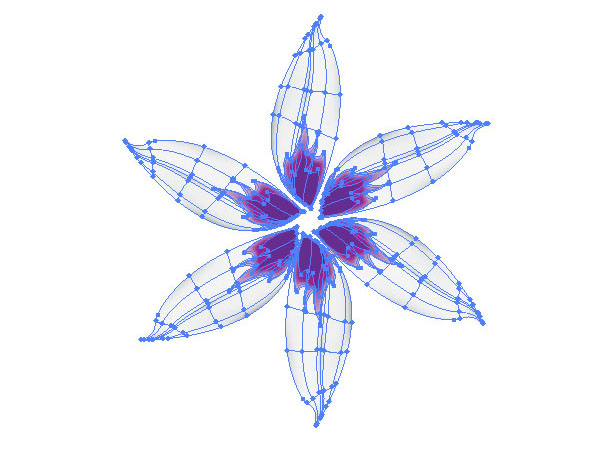
Step 13
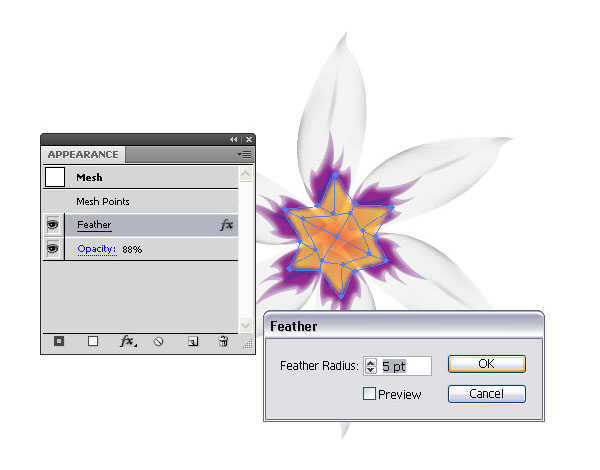
Select the orange shape from Steps 1-4 and place it on top of the pedals. Set the layer mode to 88% Opacity and apply a Feather effect of 5pt.
Step 14
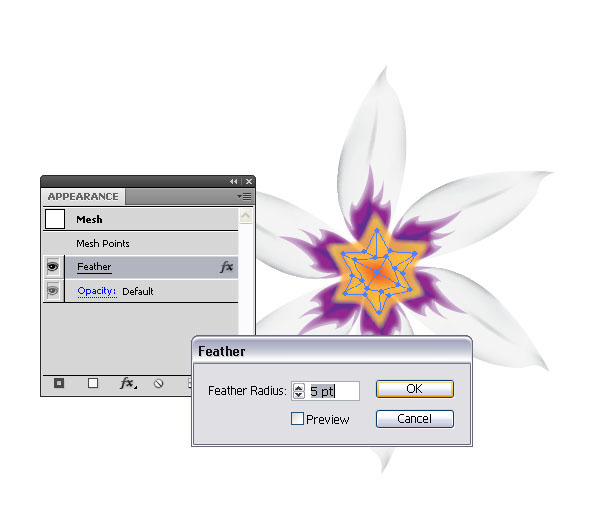
Make a copy of the orange feather shape and scale it down.
Step 15
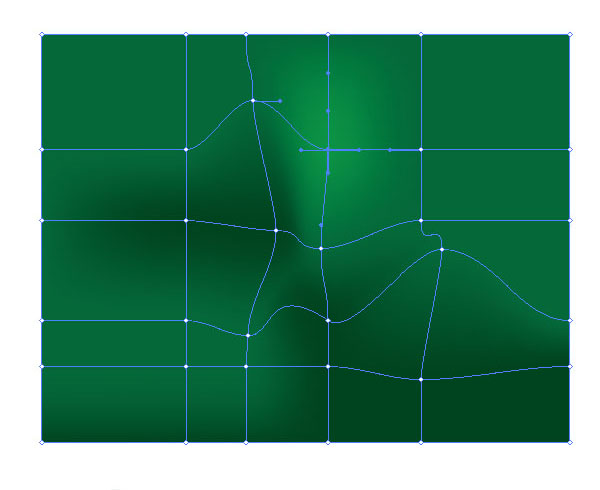
Create a rectangle and fill it with green. Then add mesh points with the Mesh Tool (U). Select random points and fill them with a darker or lighter green. This will be the backdrop.
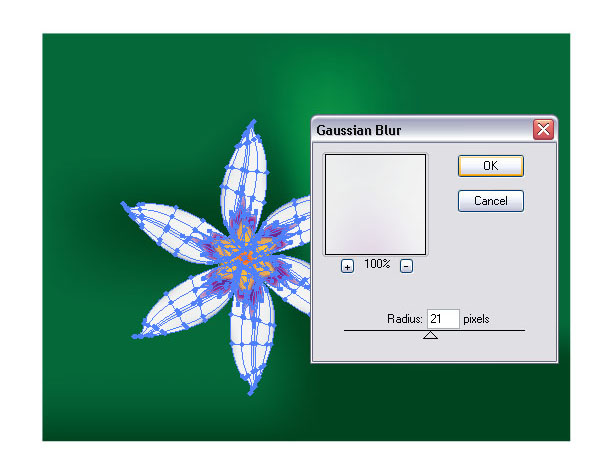
Step 16
Group all the flower shapes together and make a copy. Then apply a Gaussian Blur effect of 21 pixels.
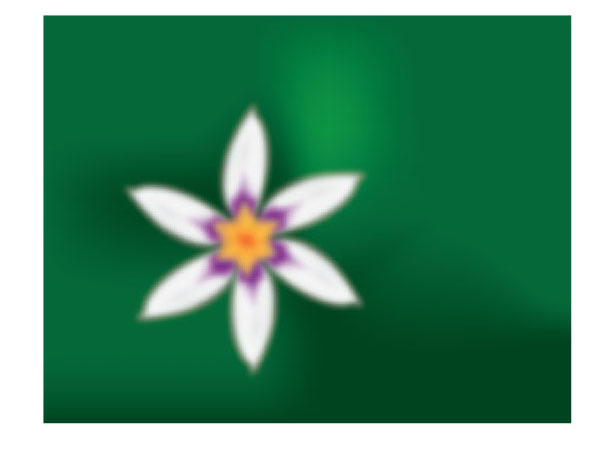
Step 17
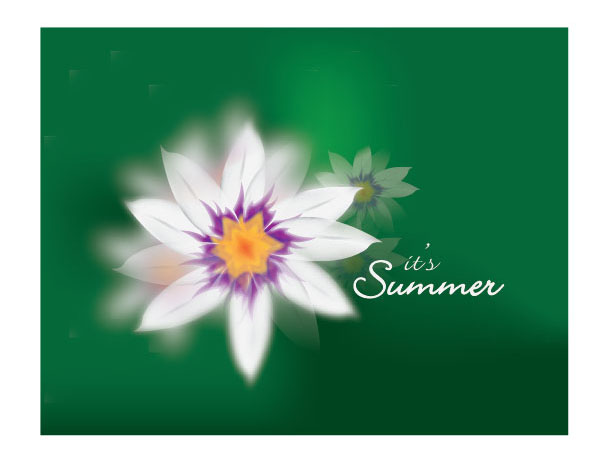
Place it on top of the backdrop.
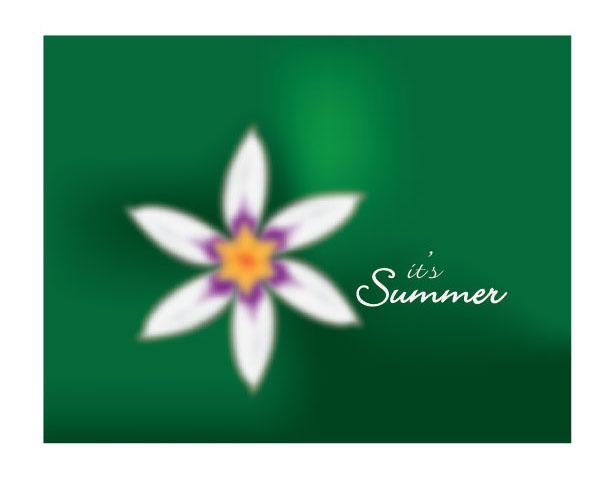
Step 18
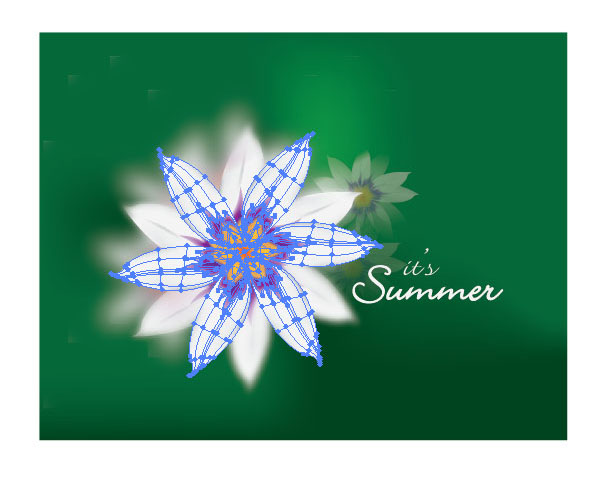
You can add some text on the right.
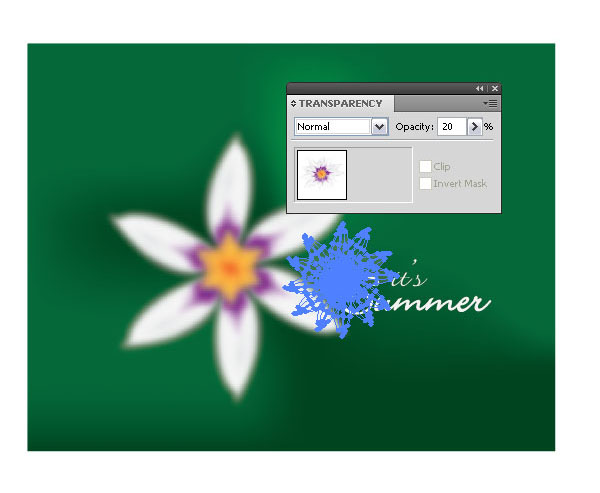
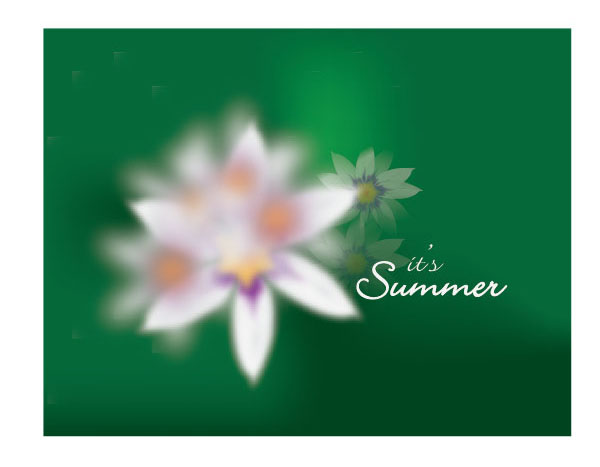
Step 19
Make a copy of the blurred flower, scale it down and place it to the right of the bigger one. Set the layer mode to 20% Opacity.
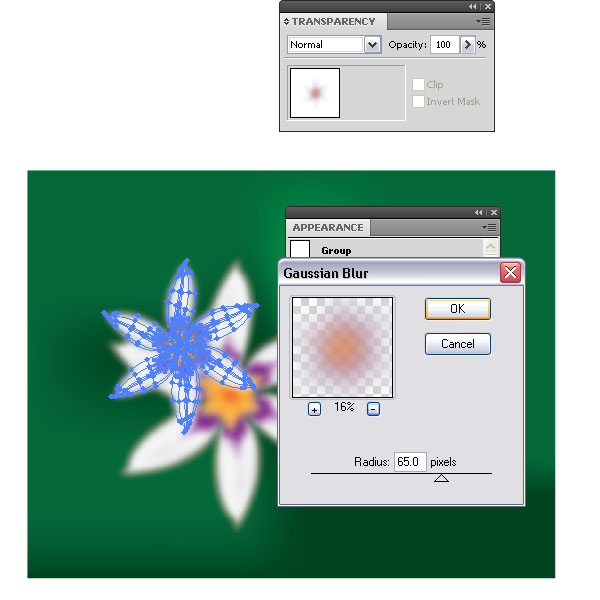
Step 20
Make another copy and apply a stronger Gaussian Blur of 65 pixels, then place it on top of the big flower. Set the layer mode Opacity back to 100%.
Step 21
I started adding some Opacity Masks to the original non-blurred flower and placed several into the background in order to create a sense of depth of field. will explain how in the next step.
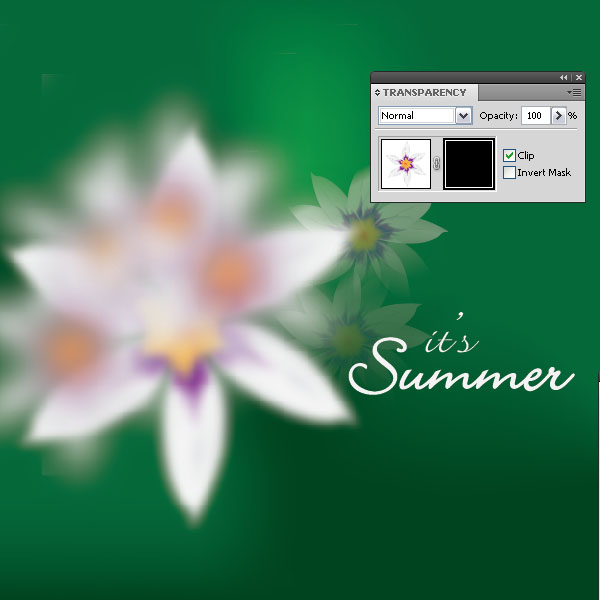
Step 22
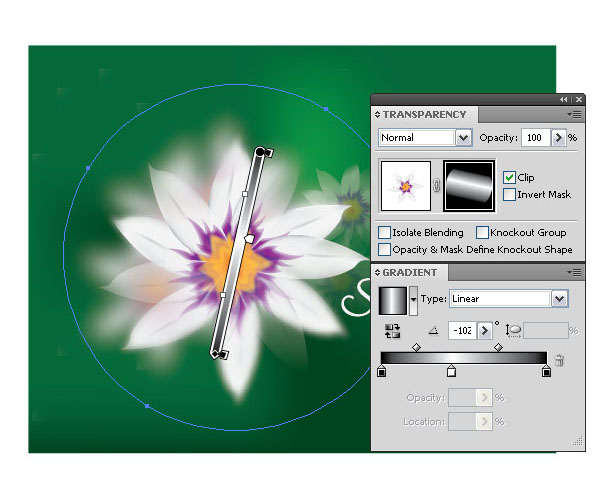
Take a copy of the original flower and apply an Opacity Mask. Select the Opacity Mask window (Black square).
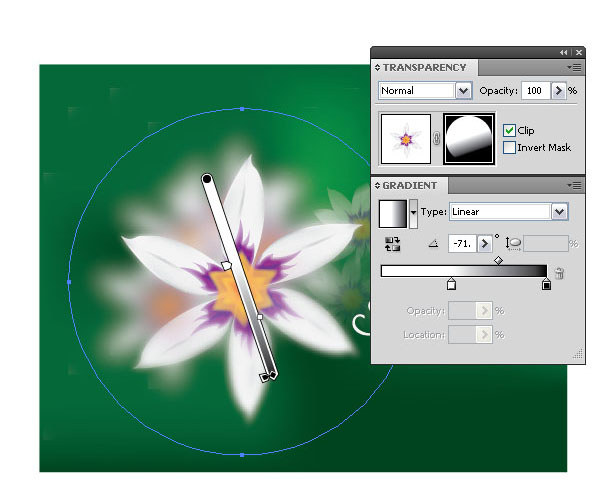
Step 23
Create a circle that is bigger than the flower and fill it with a black to white linear gradient.
Step 24
Add another smaller ellipse on top with a black to white gradient. This will hide the edges of the pedals. Remember, we are still in the same Opacity Mask.
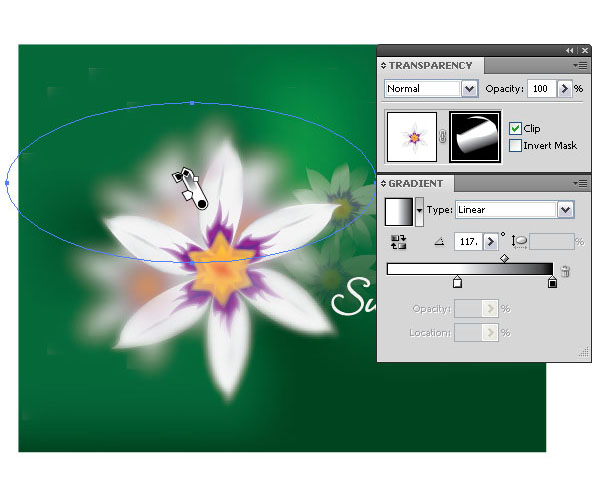
Step 25
Leave the Opacity Mask. Place another original flower on top. We want to add another Opacity Mask.
Step 26
Repeat Step 24 and apply another Opacity Mask. As you can see, the image is set up with several flowers placed on top or behind, scaled down or blurred. This will create the illusion of a depth of field and it makes it much more interesting.
Conclusion
Voila, that's it folks. Opacity Masks can be difficult to understand, but they can help to create some awesome effects. Just remember that black hides and white reveals and always make sure that you are in the active Opacity Window and that you leave it by clicking on the layer window next to it.
Copyright by : vector.tutsplus.com

0 nhận xét:
Post a Comment