Creating a flash website using actionscript 2.0
| Download PSD | Download FLA |
Result of the flash website tutorial, click to view in flash:

Step1 – Making a Flash Preloader
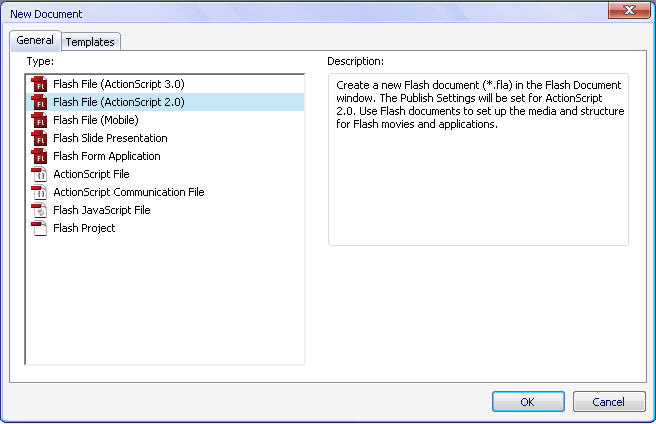
Open a new flash file.
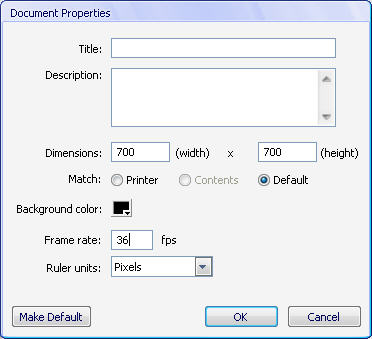
And give it these settings.
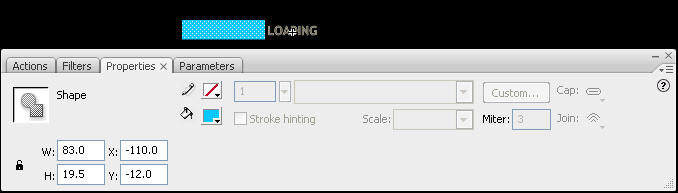
First we are going to make the preloader.
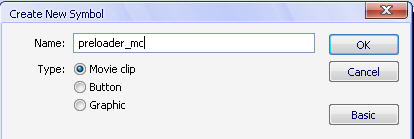
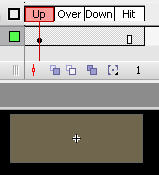
Make a new movie clip. Insert —>> New Symbol (Ctrl+F8)
Now you are in the preloader movie clip.
And make 3 layers with 100 frames. Name the maskT, text and textW.

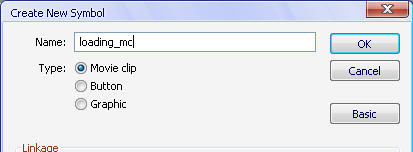
Make another symbol and call it loading_mc.
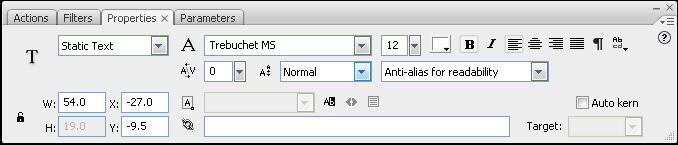
In that movie clip type in loading.
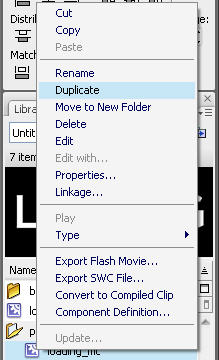
Once you have made that movie clip then duplicate it. And call it loading1_mc.
And in that movie clip make the text green.

Now open your preloader_mc and drag the movie clip loading_mc on to the stage.
Make sure that you are in the layer textW.
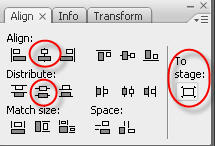
Don’t forget to center it on the stage.
And in the layer called text you drag the loading1_mc into it. And center
it.
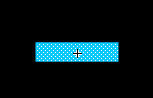
Now in the first frame of the maskT layer we will draw a rectangle. Like
this.
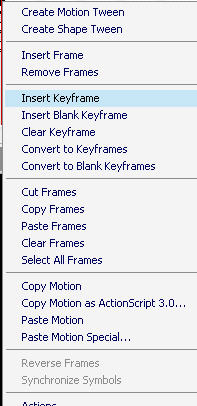
Still in the maskT layer go to frame 100 and right click to convert to key
frame.
Now drag the rectangle on top of the text.
Place your cursor in between frame 1 and 100 from the maskT layer, right click
and add a motion tween.
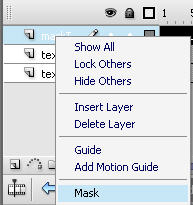
Now move with the cursor on the layer, right click and select mask.
This will add the layer text under the mask.
Now go back to your scene1 and change the name of the first layer to preloader.
Now drag your preloader_mc onto the stage.
While in the first layer press F9 to open up the actions window. Click on the movie
clip in the stage and the paste this in the window.
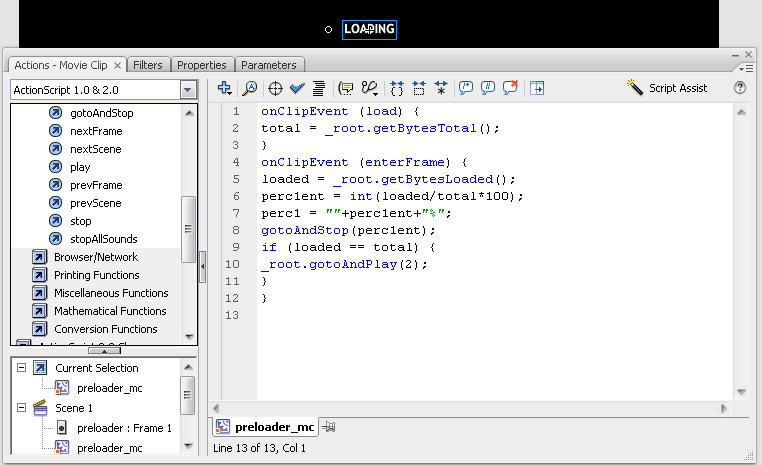
onClipEvent (load) {
total = _root.getBytesTotal();
}
onClipEvent (enterFrame) {
loaded = _root.getBytesLoaded();
perc1ent = int(loaded/total*100);
perc1 = “”+perc1ent+”%”;
gotoAndStop(perc1ent);
if (loaded == total) {
_root.gotoAndPlay(2);
}
}
Now click on the layer and go to the actions window and give it this code
stop();
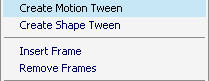
Now make a second layer and convert it to a key frame.(F6) and paste this code.
This code tells flash to check the bytes that are loaded .if it’s loaded then go
to frame3 if not stay in frame 1.
You may think what happened to frame2 . Well you are in it.
if(_root.getBytesLoaded() ==
_root.getBytesTotal()){
gotoAndPlay(3);
}
else{
gotoAndPlay(1);
}
Step 2 – Making the Smooth Page Transitions
Start by importing your PSD to flash, if you do not know how to do this, read our Importing Images in to Adobe Flash Tutorial.
href=”http://www.webdesigndev.com/flash/importing-images-in-to-adobe-flash”>
Now make a new movie clip and name it content_mc. And drag the square
on it.
Now make a second layer in scene1 and call it content.
Click on the third frame and press F6 to make it a key frame.
Now drag your content_mc to the stage and center it horizontal.

Select frame 15 and convert it to a key frame. Now right click between frame
3 and 15 and make a motion tween.
In frame 3 and change its brightness to -100%
lets make the pages first. the content to fill these is up to you. I will show
you how to do those page transitions that so many people want to know.
I will show you a very easy way to do this.
Lets me the pages first . make a new movie clip and call it homePage_mc.
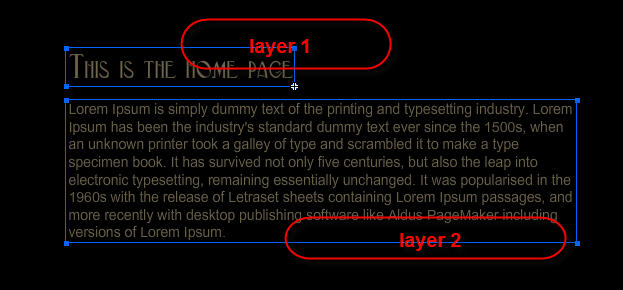
Make a layer for each thing that you add. Will be allotting better if you
want to change some things later on.
I have 2 layers. a layer with bigger text and the some text to fill this page.
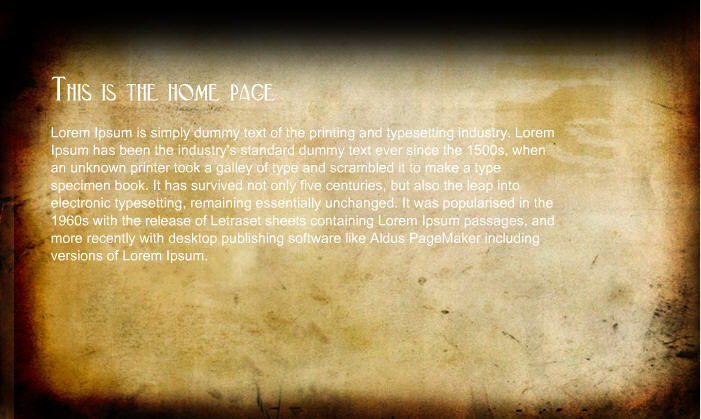
Now change some text for the other pages . Since I don’t use this site I will
only change the main text .
So you will see that the pages change. Once you made all the pages we will implant
them into scene1.
So go to scene1 and add 2 new layers , call it pages
and the other 1 actionsMain.
.
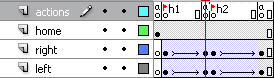
First insert frames on frame 140 for the layers content
, pages and actions.
Add a stop(); in the actionsmain on frame
35.
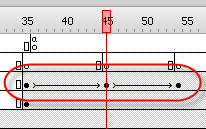
In the pages layer you need to add key frames . So when we link the buttons
that know where to go to.
Add key frame in the following frames : 35 , 45 , 54 , 59 , 69 , 78 , 82 , 92,
101 , 105 , 115 , 124
Now do the same for the actions layer.
It should look like this.
![]()
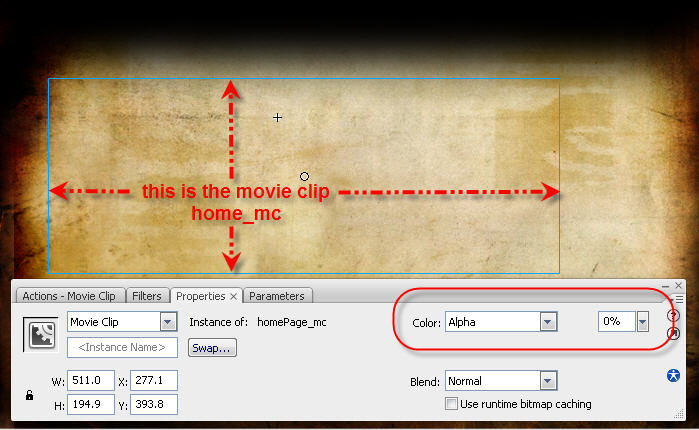
In the pages layer select frame 35 . Now drag your homePage_mc on the stage and
place it like this.
Copy frame 35 and paste in frames 45 and 54.
Now change the alpha of the movie clip homePage_mc to 0%.
Now right click between 35 and 45 and 45 –54 and add a motion tween.
Like this.
Add the other movie clips to the other key frames. After that you have this.

Select your actionsmain layer and in the key frames 45 , 69 , 92 and 115 add a
stop in your action script.
This is to make sure that it doesn’t loop all the time.
stop();
And now label the frames.
35 = home
59 = about
82 = port
105 = contact
Now comes the tricky part. All the AS . you need to get this right or we will
get allot of errors. ![]()
All of this will go in the actionsmain layer. . So when the page opens the
buttons are already in pause state.
Code for frame 36
home_mc.gotoAndStop(”pause”);//if you hit this frame then the button
will go to the pause state
over1_btn.enabled= false ; //here you say that when you go over that button
it can’t do anything
frame 60
about_mc.gotoAndStop(”pause”);
over2_btn.enabled= false ;
frame 83
port_mc.gotoAndStop(”pause”);
over3_btn.enabled= false ;
frame 106
contact_mc.gotoAndStop(”pause”);
over4_btn.enabled= false ;
Now we will tell flash were to go when a button is released. And we will give
it a little timeout. If you put in 1000 then that’s 1 second.
So we will give in 500 , that’s a half second.
Code for frame 54
stop();
function moveOn()
{
gotoAndPlay(target);
}
setTimeout(this, “moveOn”, 500);// this will delay the transition
by 1/2 second
over1_btn.enabled= true ; //this will make sure that the button works again
home_mc.gotoAndPlay(”h2″); //and that the button play’s the rest
of the animation
Frame 78
stop();
function moveOn()
{
gotoAndPlay(target); //this is were the flash will go after you clicked a
button
}
setTimeout(this, “moveOn”, 500);
over2_btn.enabled= true ;
about_mc.gotoAndPlay(”h2″);
Frame 101
stop();
function moveOn()
{
gotoAndPlay(target);
}
setTimeout(this, “moveOn”, 500);
over3_btn.enabled= true ;
port_mc.gotoAndPlay(”h2″);
Frame 124
stop();
function moveOn()
{
gotoAndPlay(target);
}
setTimeout(this, “moveOn”, 500);
over4_btn.enabled= true ;
contact_mc.gotoAndPlay(”h2″);
This is
what you should have now.

Step 3 – Enable and Disable Buttons
Again make a new symbol , and name it home_mc. Now make 4 layers. Call them left , right , text and actions.
In the text layer type in home and the select that text and press
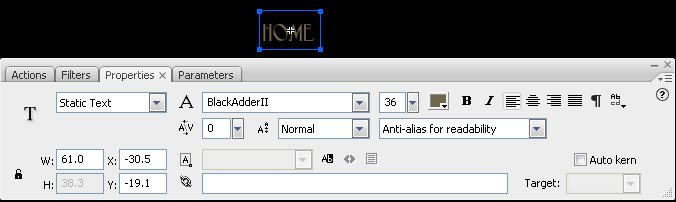
F8 to convert it to a movie clip. name this homeText_mc
Now in your movie clip home_mc Add this image. to layers left and right in
the first frame.
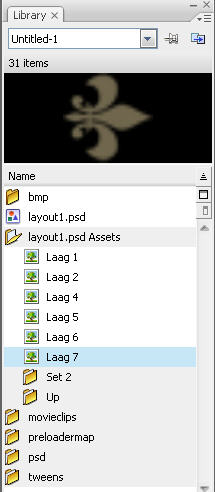
Convert it to a movie clip called indi_mc.
And place them on the side of the text.
![]()
Add a key frame in frame 7 of the layers left and right.
Go back to the second frame and move the indi_mc away from the text by 15
pox each. 1 to the left the other to the right.

And give them in the first frame 0% alpha. Now copy these 2 frames and paste
them in to frame14.
And give it a between the key frames a motiontween.

Now give frame 8 a key frame in the layers left , right and actions.
In the actions layer give in stop(); in
the first frame , frame 7 and give frame 1 label h1
, frame7 pause and frame 8
style=’color:#00CC00′>h2.
You should have this now.
Now you have to do the same with the other buttons.
When you have that then go to scene1 and add a folder. And call it buttons.
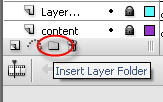
And add 8 layers and place them in that folder.
Now give them the names like below.
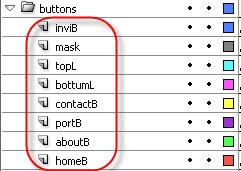
Make key frames in these 8 layers . In frame 23.
Now drag the buttons you just made in the right layer. homeB =
style=’color:#00CC00′>home_mc , aboutB = about_mc
, ….
And now drag the swirls into position. Select the each and give them these
names and put them in the right layer.


Give these movie clips instance names. So that flash knows that you mean them
in the action script.
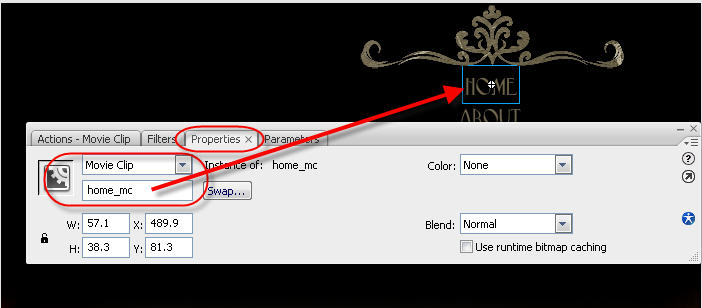
Do this for the other movie clips too. Name them the same as the movie clips.
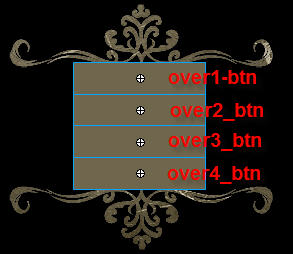
Now we are going to make a button. Like this.
Drag that button into the layer inviB in scene1.and place it right on top of
the home_mc. Now copy and paste the button 3 more times and place
Them on top of the other 3 movie clips. And name them like below.
Now with those 4 buttons selected put the alpha to 0%.
Make a new layer on top of the rest and call it buttonactions. And give it
this code.
I
n this code you will say what flash needs to do when you go over , or press ,
… a movie clip.
//button home_mc//
over1_btn.onRelease = function(){
play();
target=”home”;
}
over1_btn.onRollOver = function(){
home_mc.gotoAndPlay(”h1″);
}
over1_btn.onRollOut = function(){
home_mc.gotoAndPlay(”h2″);
}
over1_btn.onReleaseOutside = function(){
home_mc.gotoAndStop (”pause”);
}
//button about_mc//
over2_btn.onRelease = function(){
play();
target=”about”;
}
over2_btn.onRollOver = function(){
about_mc.gotoAndPlay(”h1″);
}
over2_btn.onRollOut = function(){
about_mc.gotoAndPlay(”h2″);
}
over2_btn.onPress = function(){
about_mc.gotoAndStop (”pause”);
}
//button port_mc//
over3_btn.onRelease = function(){
play();
target=”port”;
}
over3_btn.onRollOver = function(){
port_mc.gotoAndPlay(”h1″);
}
over3_btn.onRollOut = function(){
port_mc.gotoAndPlay(”h2″);
}
over3_btn.onReleaseOutside = function(){
port_mc.gotoAndStop (”pause”);
}
//button contact_mc//
over4_btn.onRelease = function(){
play();
target=”contact”;
}
over4_btn.onRollOver = function(){
contact_mc.gotoAndPlay(”h1″);
}
over4_btn.onRollOut = function(){
contact_mc.gotoAndPlay(”h2″);
}
over4_btn.onReleaseOutside = function(){
contact_mc.gotoAndStop (”pause”);
}
Let’s make the animation when the buttons enter the screen.
Select the topL_mc and place it right above your screen.And place the
buttomL_mc right under it.
Now add a key frame in frame 33 for those 2 layers .In frame 33 move them on
how they were from the beginning.
Click between frame 23 and 33 and a motiowtween.
Now for the mask. add a key frame in 23 and draw a rectangle that will cover
your buttons.

Make a key frame in 33 and go back to 23 and place it like this.

And add a motiontween.
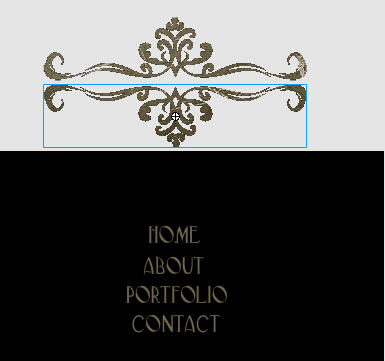
Now for the last piece . The header/logo. You can use any logo or banner you
want . This is to show you how you can tween with AS.
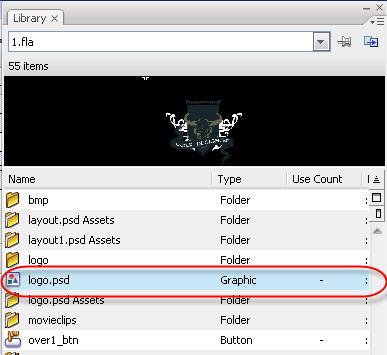
So take the logo and make it a movie clip.
And call it logo_mc
Make a new layer in scene1. make a key frame in frame 10 and drag Logo_mc
into the stage and place it on the left side.
Take a look on the Y axis.
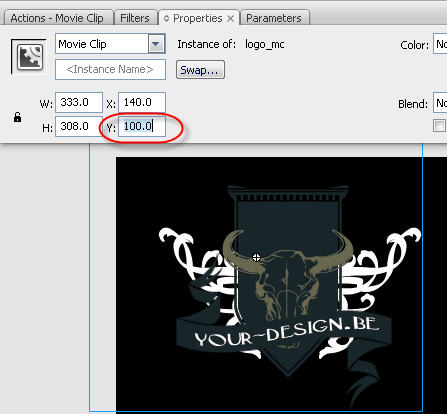
Select the logo and press F9 to open Up the actions window. And give this code.
The first part will tell the movie clip where to start. and the second 1 will
say where to stop.
onClipEvent (load) {
//here you say where to start
this._y = -170;
}
onClipEvent (enterFrame) {
//this will tell the As on were to stop the animation. the 25 is what speed
you want it to move.
if (this._y<100) {
this._y += 25;
}
}
SO , press Ctrl+enter and you are done.
You should have learned some new but very simple things that you can use to
make your own site.
Visit later for more tutorials.
Copyright by :webdesigndev.com

0 nhận xét:
Post a Comment